Build a flow in MyLINK MarketingPlatform
Use the Flow builder to create an automated journey for an audience. A flow can send messages, wait between steps, and branch based on profile data or behavior.
Before you start
You need:
- Access to Automation.
- An audience for the flow.
- Any email or SMS campaigns you want the flow to send.
- A clear journey plan, including the starting point and the action after each step.
Build a flow
Step 1. Open Flow builder
Go to Automation and open Flow builder.
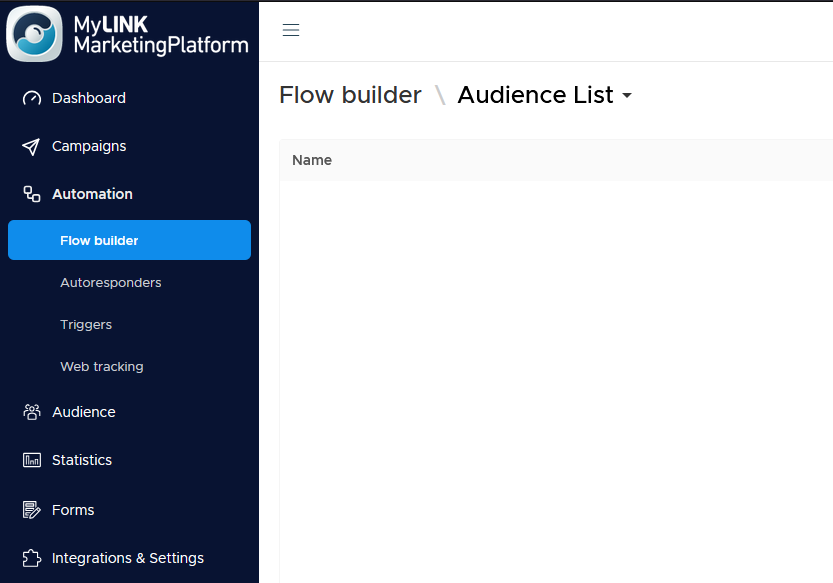
Step 2. Select the audience and create a new flow
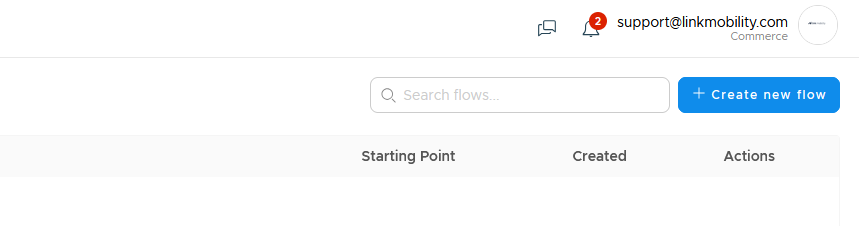
Choose the audience the flow should apply to from the toolbar, and then create a new flow.
Step 3. Add a starting point
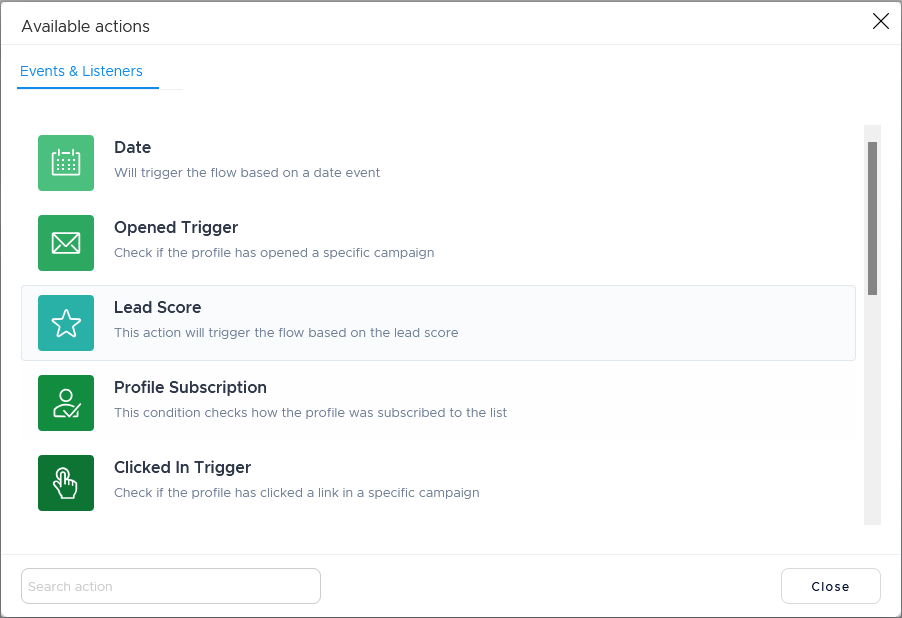
Add the step that begins the journey. Starting points can include joining by email, SMS, a form submission, a webhook, a date, or a tracked event.
Step 4. Add actions and timing
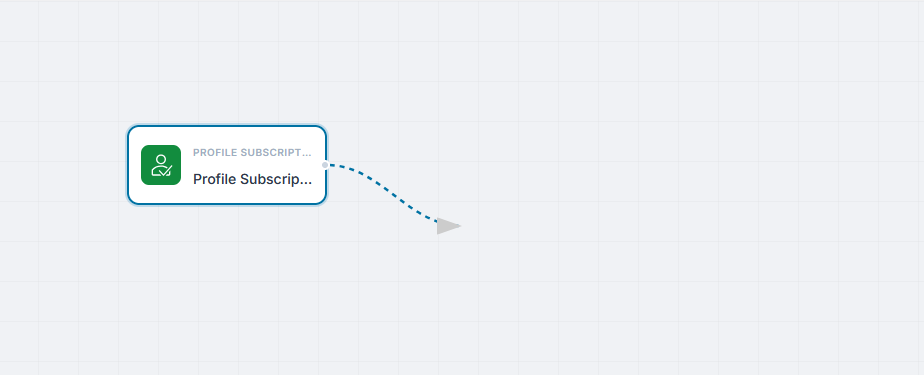
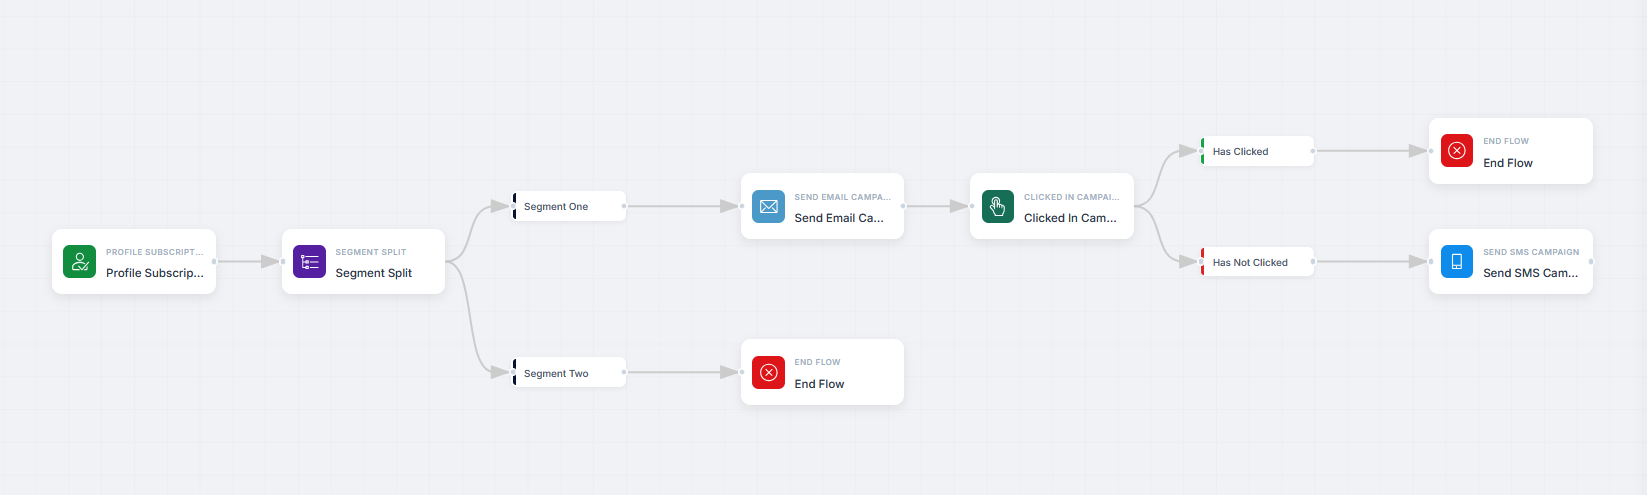
Add send actions, wait steps, conditions, branches, or audience actions. You add actions by dragging a new connecting line from a previous action or the starting point.
Step 5. Connect the steps
If needed, drag additional lines from one step to the next to connect the journey. The connecting lines show the direction the profile follows.
Step 6. Configure each step
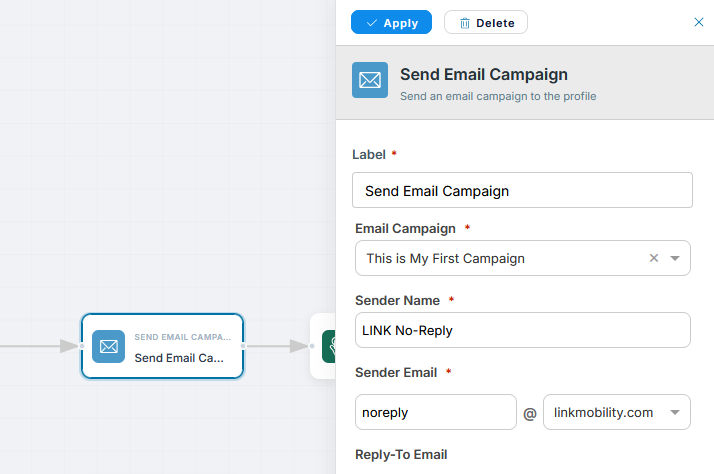
Click on a step to configure it. If you want to delete a step, click on it and use the "Delete"-button.
Step 7. Review warnings
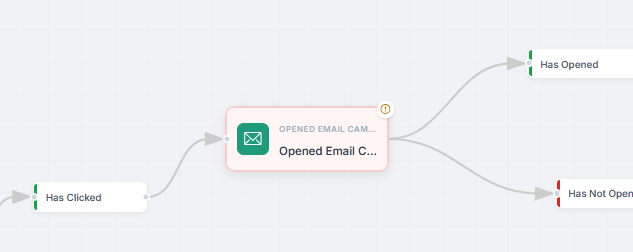
Check any steps with warning badges. These steps need attention before the flow is ready.
Step 8. Save the flow
Use Save and Continue or Save and Close.
Step 9. Activate the flow
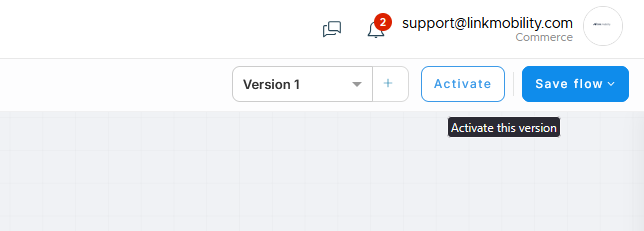
Activate the flow when it is ready to run.
When to use this feature
Use Flow builder when a customer journey needs more than one action.
Common use cases
- Welcome journeys
Create an onboarding series for profiles that enter an audience. - Lead nurturing
Send messages and branch the journey based on profile data or behavior. - Form follow-up
Start a follow-up journey after a form submission.
Marketing tip
Map the journey on paper before building it. Write the starting point, each wait period, each message, and each branch. This makes the flow easier to test.
Additional information
Flow step categories
Flow steps are organized into categories, including starting points, send actions, timing, conditions, branches, and audience actions.
Flow versions
You can keep multiple versions of a flow. Mark one version as active when you want that version to run.
Canvas controls
Use the canvas controls to zoom in, zoom out, fit the flow to the screen, or auto-arrange the steps.
Troubleshooting
| Problem | Possible Cause | Solution |
|---|---|---|
| A step shows a warning badge | The step is missing required setup | Open the step and complete the missing details. |
| Profiles do not enter the flow | The starting point may not match their action | Review the starting point and audience. |
| The wrong version is running | Another version may be active | Open the flow versions and check which version is active. |
| The canvas is hard to read | The flow is zoomed in or arranged unevenly | Use zoom, fit to screen, or auto-arrange. |